
Ableton Live, the magical digital audio workstation that allows you to maximize your creativity within a production, has a lot of cool features. One of the most important is Warping and how Live handles tempo or beats per minute (bpm) calculations. This has a tremendous impact on how the audio files you add to your project will sound. Understanding exactly how Live processes audio when Warping will allow you to make the best decisions to get the result you want.
There are a few ways you can import audio into a project. You can drag and drop from your operating system files or use Live’s built-in Browser to both preview an audio file and drag and drop it into your project.
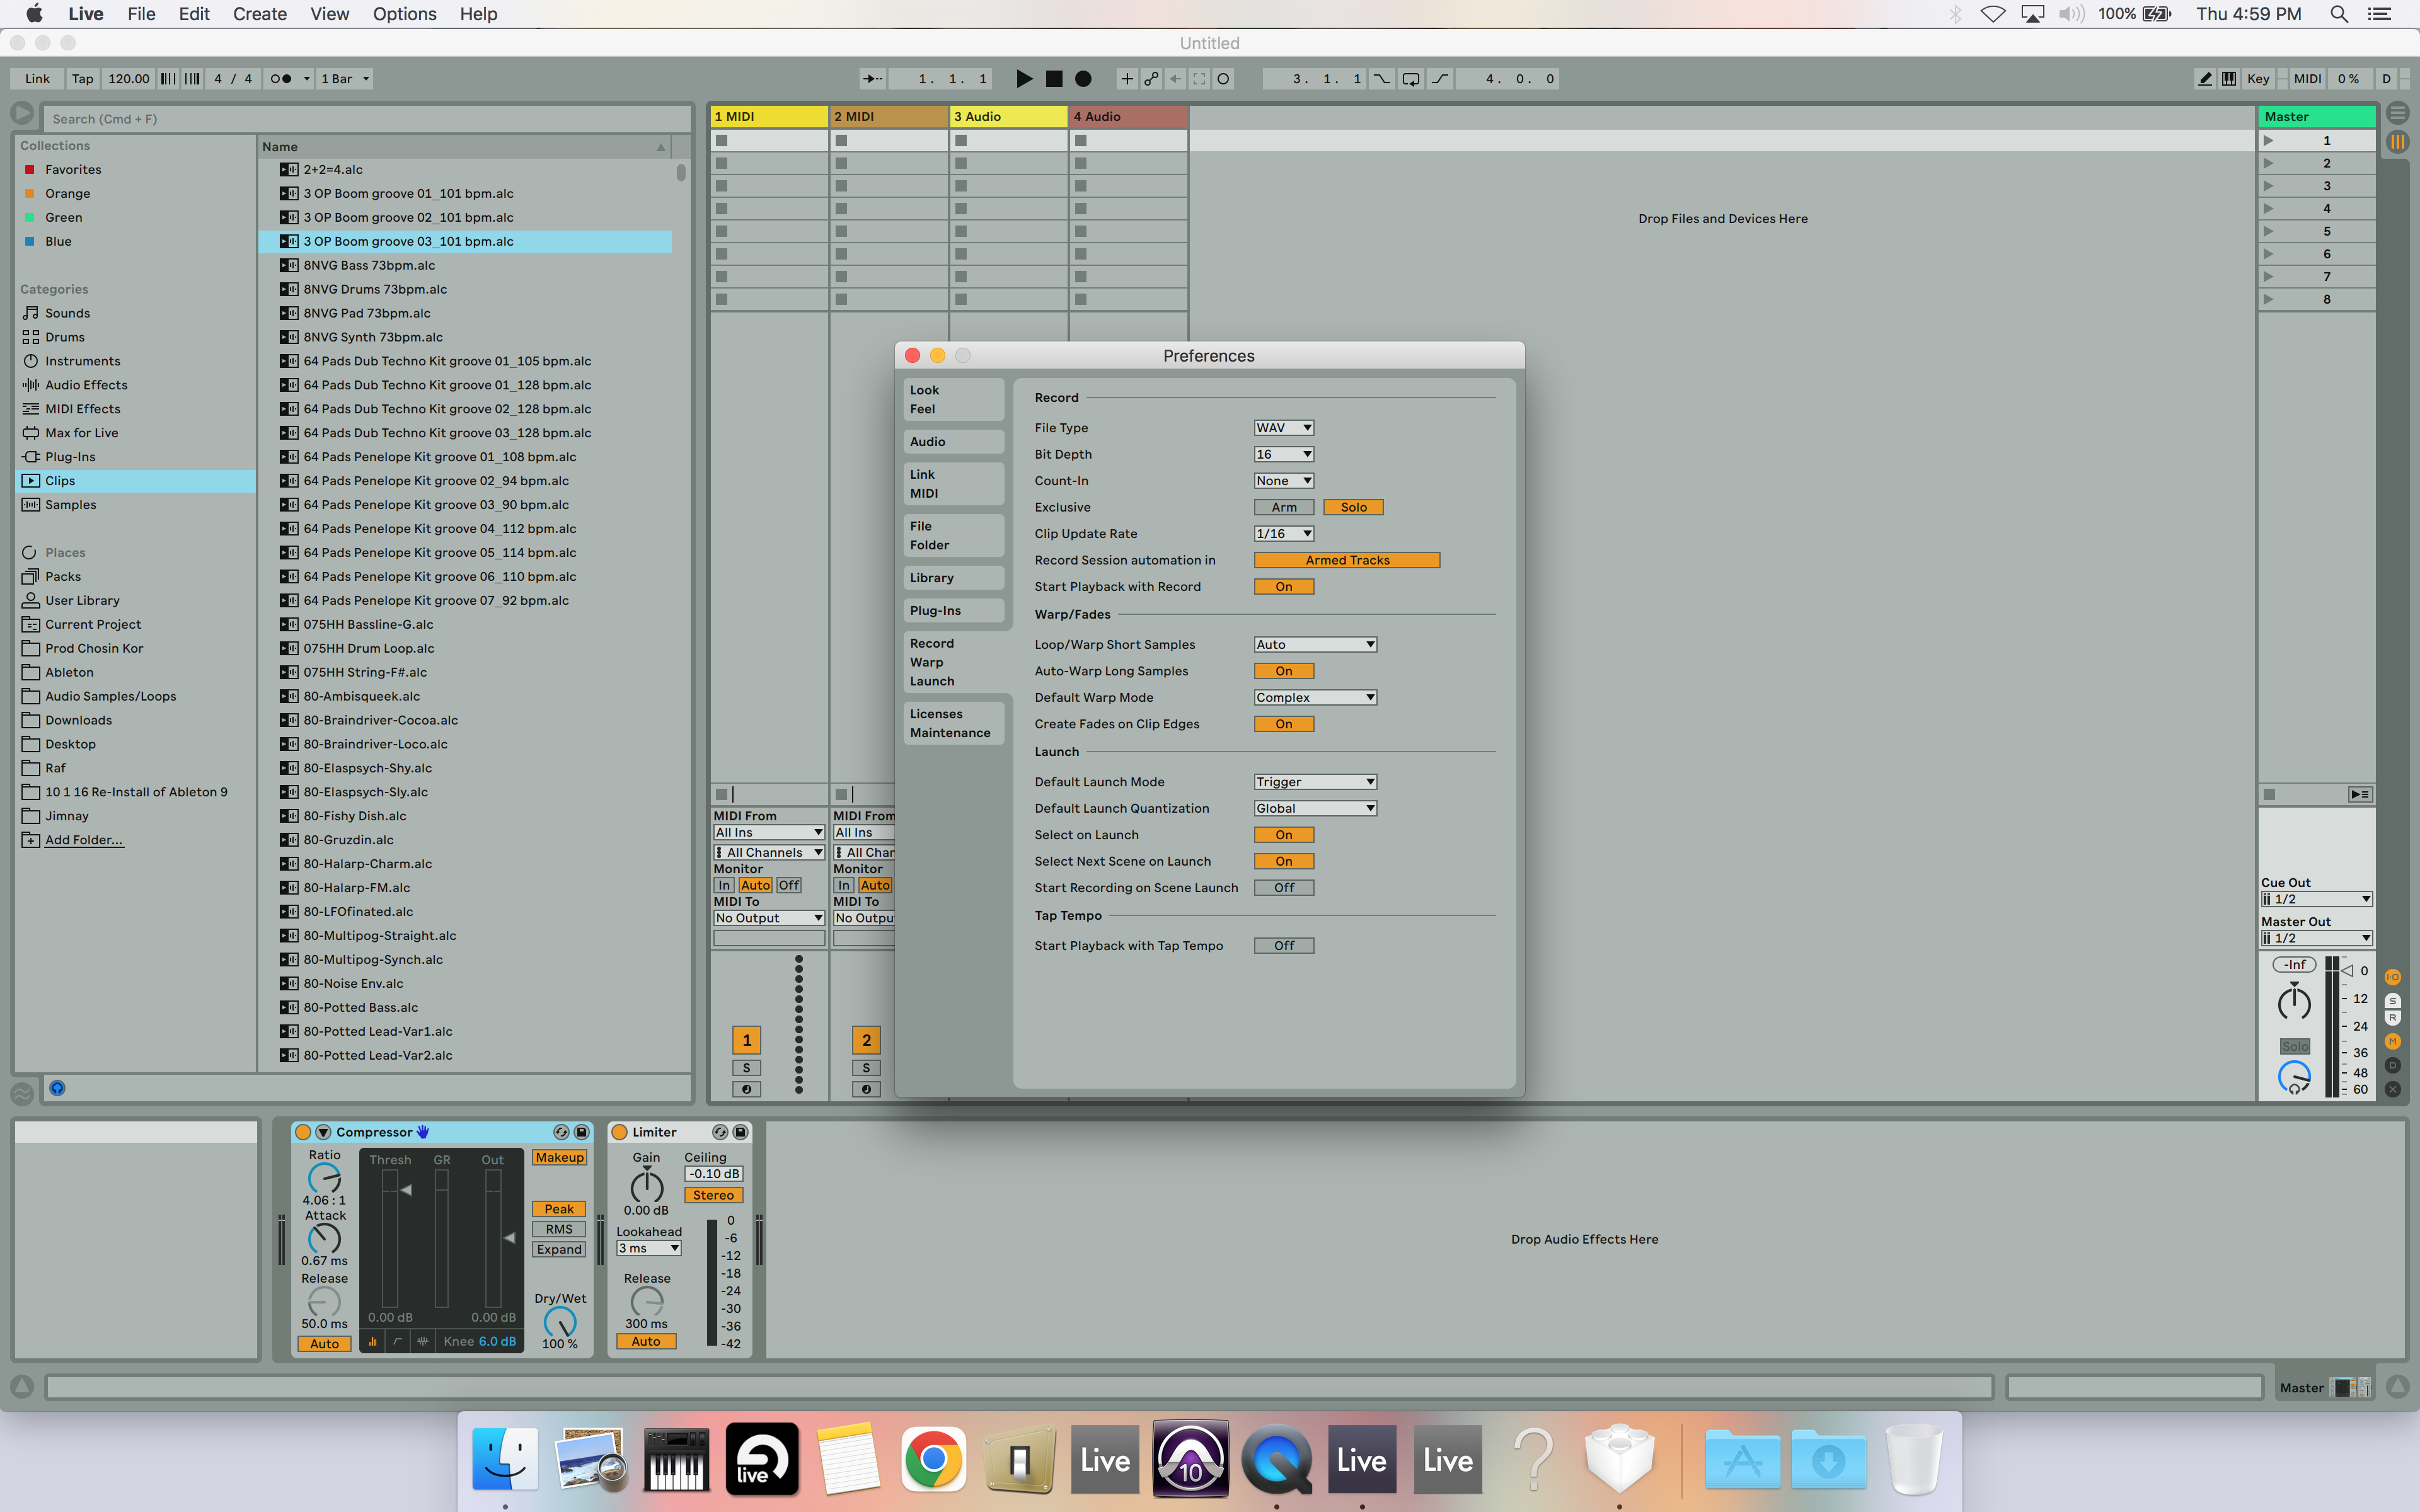
If you have the Warp/Fades option checked or set to Auto in Preferences, once you bring an audio file into your project, Live will begin analyzing the audio file to determine the tempo and insert any Warp markers based on the analysis. Turning this off or setting it to Unwarped One Shot will result in your imported audio files not being able to be Warped and disabling Live’s ability to play audio files at different tempos in time together.
When To Use Warping
Warping is perfect for combining various clips of differing tempos to all match the same beats per minute. You can see and set the project’s tempo in the upper left hand corner of the screen. Using Warping in this scenario, you can combine clips with vastly different tempos and have them all play together correctly. If you do not have Warping turned on, you will not be able to loop the audio at the clip level. You could still loop in the arrangement view but it will not necessarily correspond to the project’s existing tempo.
Another reason to use Warping is to get audio that is not played perfectly in time to match the tempo grid in your project. You can insert Warp markers to drag and move the audio to make sure the transients in the clip line up to the project tempo settings.
When Not To Use Warping
One common scenario when Warping might not be needed is when you bring in stems, or the individual parts or tracks that comprise the entire song. Live sometimes has a hard time with calculating tempo information when there are blank spaces before audio starts, so if you are importing stems (sometimes called multi-tracks), it can Warp incorrectly. To correct this, simply go to each audio clip and turn off the Warp option and then set the start of the clip to be at 0.